Motorized Blackout Roller Shades: Stylish Solutions for Light Control

Blackout Roller Shades play an important role in light control, privacy, and style. With the right roller shades, you can make a space feel bigger, more open, more energy efficient, and more stylish. Today, we’ll focus our discussion on one of the best Motorized Roller Shades for managing natural light with ease and efficiency—the SwitchBot Roller Shade.
Overview
What Are Motorized Blackout Roller Shades?
Simply put, the main job of Motorized Blackout Roller Shades is to stop light from outside from coming in. They’re usually made from a single fabric that’s tightly woven and thick, such as polyester, acrylic-coated fabrics, foam-backed fabrics, and fiberglass. Some Blackout Roller Shades use two fabrics with different levels of light-blocking capability.
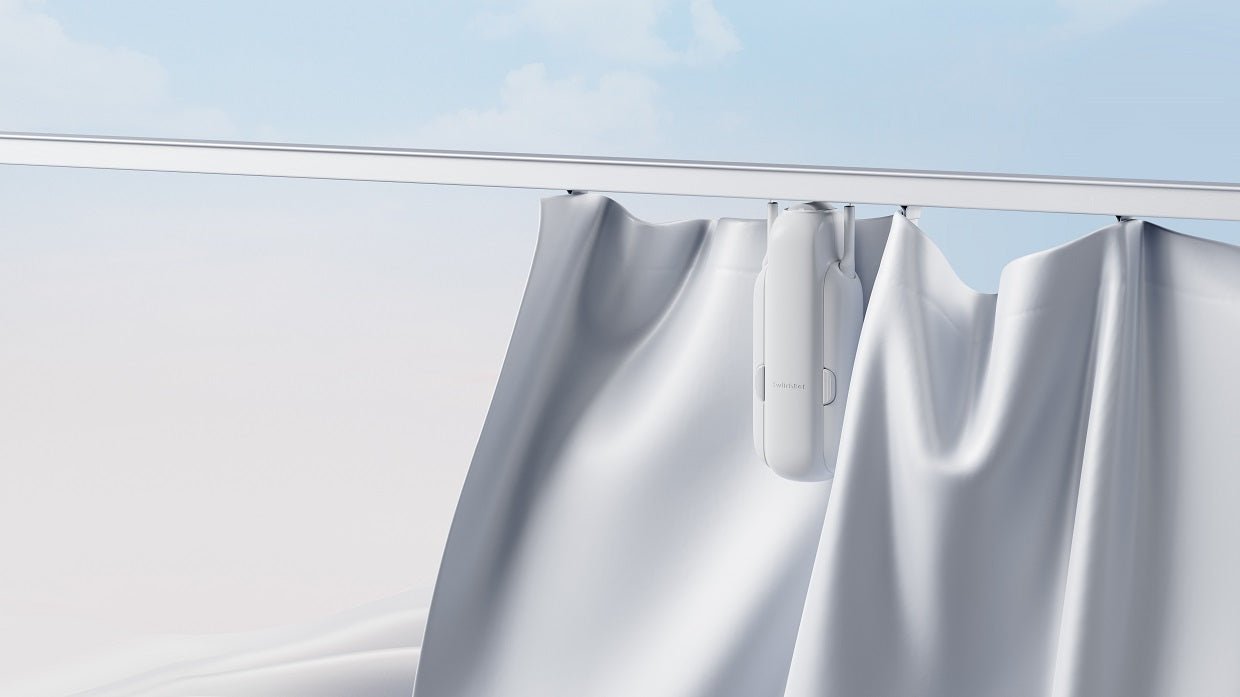
Inside the roller tube at the top of the blackout roller shades, you’ll find the motor that’s responsible for rolling the fabric up and down. The motor can run on batteries, solar panels, or plugged into an electrical outlet. You can control these shades using a remote control, mobile app, or voice commands (if connected to a smart home hub).
Blackout Roller Shades have many great benefits, including:
- Safety: Since they don’t have cords, the risk of strangling and suffocating for children and pets is much lower than traditional roller shades.
- Privacy: They provide a high level of privacy because they’re made of one or two layers of light-blocking fabrics, which prevent people from seeing the inside of your home.
- Light Control: Motorized Roller Shades make it simple to adjust the amount of light coming through your windows to fit your liking. By having more control over brightness, you can create a comfortable environment for sleeping, relaxing, and working.
Key Features of SwitchBot Motorized Blackout Roller Shades
The SwitchBot Motorized Blackout Roller Shades, which are the “world's first adjustable smart roller shade,” perfectly combine advanced technology, practical design, and style. While this motorized roller shade has a host of excellent features, it has key features that you might find useful.

SwitchBot Blackout Roller Shades: Convenient Features
Complete Light Control
SwitchBot uses fabrics with top-notch light-blocking capabilities to ensure its motorized roller shades can keep unwanted outside light out of your room. It also doesn’t allow light gaps at the sides, thanks to its adjustable headrail that perfectly fits a variety of window frames.
Complete light control isn’t the only thing you’ll get from the SwitchBot Motorized blackout roller shade. It also enhances privacy and protects your home’s interiors from the damaging effects of ultraviolet rays.
Automated Operation
The motor in the roller tube allows you to control the SwitchBot Roller Shade remotely. You can use a remote control, a Matter-enabled device, light sensors, voice commands, timers, and SwitchBot’s mobile app. This feature is specifically helpful for people who have mobility issues, hard-to-reach windows, or for those who want the convenience of automation.
Silent Operation
This motorized roller shade produces the same level of noise as a whisper (30 decibels) in silent mode. It comes with a direct current (DC) motor, which is known for being energy efficient, precise, and quiet.
Wireless Installation
You don’t usually need a professional electrician to install the SwitchBot Roller Shade. The installation and set up process typically requires only two people to complete.
It runs on batteries that can last up to 8 months on a single charge. If you want something more sustainable, you can pair it with the optional solar panels.
SwitchBot Blackout Roller Shades: Stylish Aesthetics
Minimalist Style
For many people, style is as important as the functionality of a device. These Blackout Roller Shades offer the perfect balance of these essential qualities. The clean and simple design of these shades allow them to easily blend into various home interiors.
Color and Fabric Options
The SwitchBot Roller Shade is available in various colorful, minimalist, and fun fabric designs. Freely change its fabric style and even the rolling shutter to suit your preferences and complement your existing home décor.
Custom Sizing
One of the standout features of the SwitchBot Roller Shade is its adjustable headrail. You can adjust this roller shade to fit window sizes ranging from 22.8″ (58cm) to 72.8″ (185cm). A perfect fit means there’s little chance for outside light to seep through the gaps.
SwitchBot Blackout Roller Shades: Smart Home Integration
Smart homes are becoming more popular in different parts of the world, including Europe. According to TechCrunch, there were approximately 1.5 billion smart home devices that were sold in 2023 alone. This is a 15% increase compared to the previous year.
Smart appliances and devices, such as the SwitchBot Roller Shade, can make your daily life more convenient and your home more energy efficient. The SwitchBot Roller Shade can connect with most smart home devices and smart virtual assistants, such as Alexa and Google Assistant, by logging into your SwitchBot account.
With the use of the SwitchBot Hub, you can control it through a wide range of devices and platforms. The mobile app lets you schedule specific times of the day for your roller shades to automatically go up or down. This feature doesn’t only make your life easier, but it also helps enhance energy efficiency by reducing your reliance on artificial lighting and maintaining an ideal indoor temperature.
SwitchBot Blackout Roller Shade: Installation and Setup Process
The installation and setup process doesn’t involve complex wiring, so it shouldn’t take much time or require professional help. However, to finish the job faster, consider getting the help of one or two people.
Below is a general guide on how to install and set up the SwitchBot Motorized Blackout Roller Shades:
Estimated time to complete: 30 to 40 minutes.
Step 1: Checking and Preparation
When you receive your package, check if the parts and tools are complete. The package should contain the following:
- Adjustable headrail
- Fabric
- Bottom bar (3 parts)
- Mounting bracket (2 pieces)
- Small screw pack
- Expansion screw pack
- Fabric tapes (2 pieces)
- Cable wrap
- Controller
- Cutter
- Level meter
- Plastic band
- Positioning cards (2 pieces)
- Screwdriver
- Stapler
Other tools you might need:
- Electric drill
- Hammer
- Ladder
- Measuring tape
- Pencil
- Scissors
Step 2: App Setup
The next step is to download or update the SwitchBot mobile app. After you’ve done that, choose the plus symbol (“+”), and then “Add Device” on the mobile app. Choose the roller shade icon. Lastly, follow the prompts on the screen to successfully add your motorized roller shade.
Step 3: Installation (Outside Window Frame)
Decide how you’re going to install the shade based on your window frame (outside frame versus inside window frame). In this article, our guide will focus on installing the SwitchBot Roller Shade for an outside window frame.
- Remove the end bracket cover and the bracket itself.
- After you’ve removed the fabric roll, put back the end bracket. Make sure you don’t tighten the screws.
- Check if you need to adjust the width of the headrail to match your window’s width. We suggest you leave a margin of at least 2.5 cm (around 0.9 in) on both sides for an improved shading effect.
- Slightly loosen the adjustment screws on the headrail, and then tighten them once you’re done making adjustments.
- Assemble and adjust the bottom bar, so it has the same size as the headrail.
- Put the positioning cards on the red marks on the bottom bar.
- Look for the provided level meter, and then peel off the tape liner. Attach it in the center of the bottom bar.
- Find the correct positions of the mounting brackets.
- After aligning the bottom bar, check if the bubble in the level meter stays between the two black marks. If it doesn’t, it means the surface isn’t level.
- Mark where the mounting brackets should be positioned.
- Drill 4 holes. Each hole shouldn’t have a depth of more than 3 cm (around 1.2 inches).
- Using a hammer, install the anchors.
- Use the provided expansion screws to secure the mounting brackets in place.
- Tighten all the headrail’s screws.
- Check whether the headrail and brackets are aligned.
- Ensure the headrail is level after mounting it on the brackets.
- Remove the headrail and its end bracket.
Step 4: Fabric Resizing
You can skip this step if you didn’t make any adjustments to the size of the headrail. If you did, these are the things you should do next:
- Identify where you need to cut the fabric roll based on the size of the headrail.
- Wrap the tape tightly around the cutting spot.
- Align the fabric roll on the headrail until it’s in place. Make the necessary adjustments to ensure the fabric roll will slide smoothly into position.
- After installing the cutter, tighten the screws.
- Start cutting the fabric by opening the fabric cutting page in the mobile app.
- If you encounter any problems during the cutting process, you can tap “Pause” in the mobile app or press the “Add Device” button on the device.
- Put back the headrail.
- To turn on the motor, select the start button in the mobile app.
- Insert a screwdriver into the top port, and then turn it in a clockwise direction.
- You can stop rotating the screwdriver once the indicator shifts to the opposite end of the Progress Display.
- Turn the screwdriver in a counterclockwise direction. Stop doing this when the indicator returns to its starting position.
- Remove the cutter before removing the fabric roll.
Step 5: Fabric Roll Installation
- Before rolling the fabric, make sure you’ve already removed the level meter and positioning cards from the bottom bar.
- Staple the plastic band to the fabric edge, leaving at least 15 cm (around 6 in) of space between each clip.
- If necessary, cut the band to a suitable size.
- Detach the bottom bar.
- Slide the two parts of the bar onto the fabric edge.
- Align the fabric roll on the headrail, then install the end cap.
- Take off the cover, secure the screws on the end bracket.
- After replacing the bracket cover, snap the headrail onto the mounting brackets. If you hear a click, it means it’s in place.
- Install the controller.
- Calibrate your SwitchBot Motorized Roller Shades using the mobile app.
3 Benefits of SwitchBot Motorized Blackout Roller Shades
SwitchBot Motorized Roller Shades bring an effective, modern solution to natural light control, privacy, and energy efficiency. So, why should you choose this over traditional window treatments?
1. Minimal Effort
The most effort you need to put in is during the installation of the headrail and brackets. After that, controlling these Motorized Roller Shades becomes almost effortless. You can raise or lower the shades with a simple voice command or with the touch of a button. You can even schedule its operation for a truly automated and hands-free experience.
2. Promotes Good Sleep and Relaxation
It’s easiest to have a good sleep in a dark and quiet environment. The SwitchBot Roller Shade satisfies both of these requirements. The thick fabric and adjustable headrail prevent light from coming into your room. You’d barely hear the motor and movement of the fabric around the tube because they’re relatively quiet, like the rustling of leaves or a soft whisper.
3. Combines Style and Functionality
These Blackout Roller Shades give you the ability to change the fabrics with different designs of your choice. They’re the perfect option for people who want to enhance their home’s style without compromising functionality and safety.
Conclusion
Motorized Blackout Roller Shades can add personality to your home while automatically blocking out light from windows and other sources. There are many great choices out there, one of which is the SwitchBot Roller Shade. If you want superior light control with the added convenience of automated and remote operation, these Motorized Roller Shades by SwitchBot are definitely worth a try.


